Introduction
Seeker works on the concept of social engineering we all know as phishing. Instead of credentials you can use seeker to phish for geolocation. Follow the step by step instructions provided below to install seeker on termux.
Step 1 - Update
Update and upgrade termux packages :
pkg updatepkg upgrade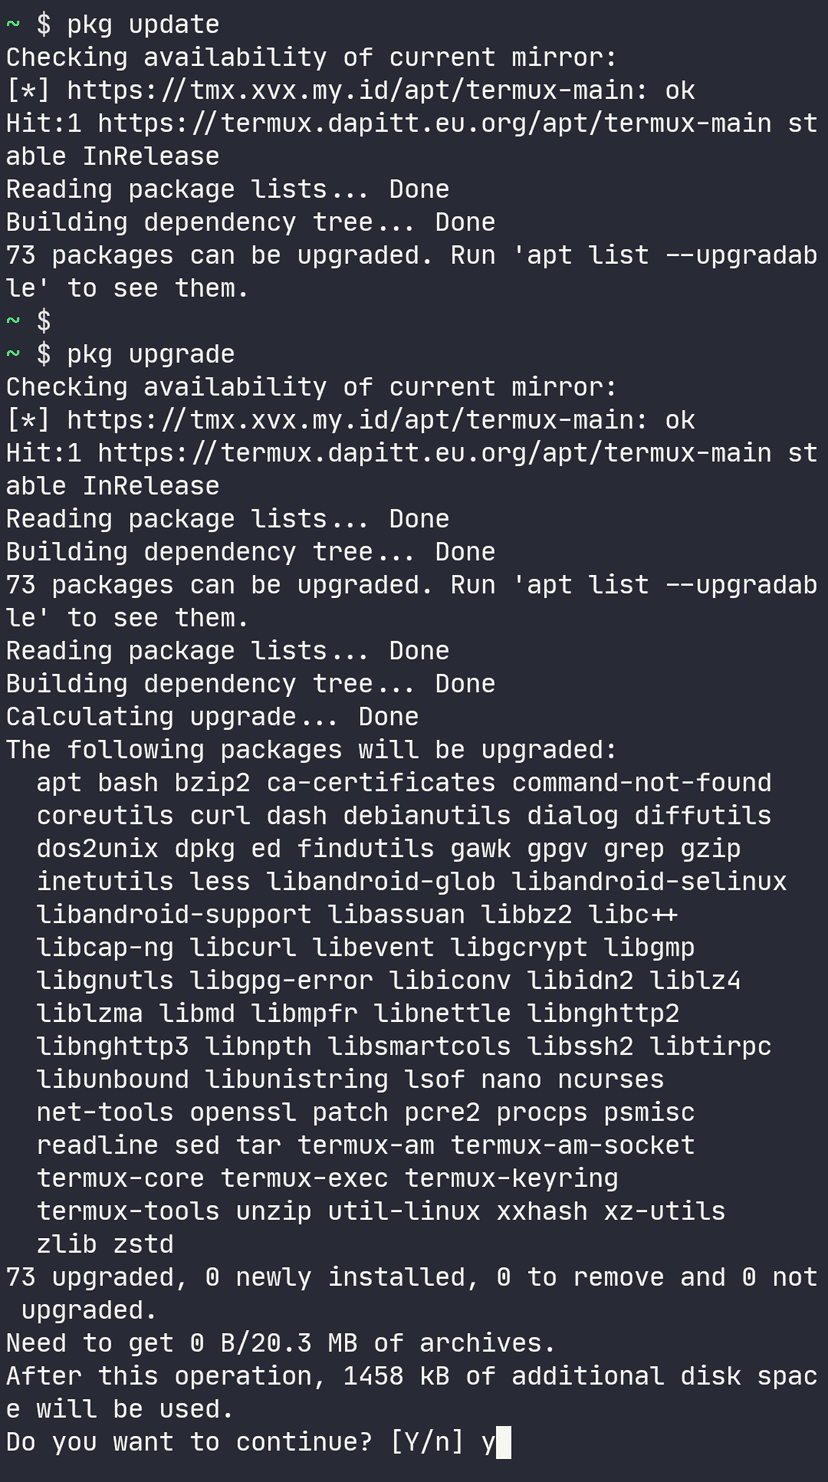
if you are getting any errors after running the update command then you can easily fix it using a neat in-built termux utility : termux-change-repo, just run the command and it will ask you to choose nearby region for termux package repositories, any package related errors should go away at this point.
Step 2 - Install git
We will be downloading seeker from GitHub. To do that we will use git command, you can read and learn more about git command here . Using the pkg command we can install git :
pkg install git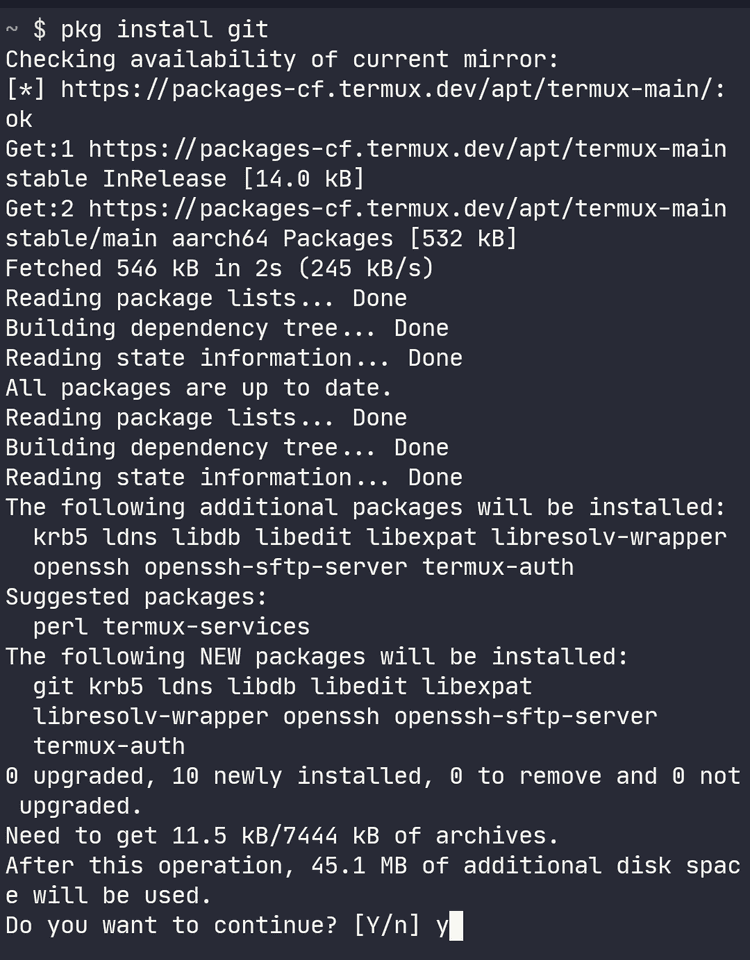
Step 3 - Download seeker
Download seeker from GitHub, make sure to download the official version as there are many old and outdated forks available :
git clone https://github.com/thewhiteh4t/seeker.gitcd seeker/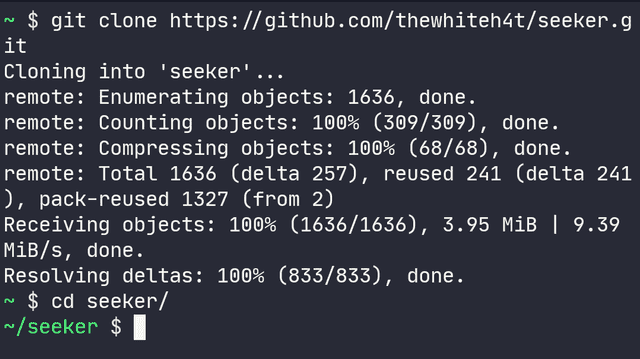
Step 4 - Permissions
Earlier there was a separate termux install script but now there is a single install script for simplicity. Using chmod command give the script execution permissions. You can read and learn more about chmod command here .
lschmod +x install.sh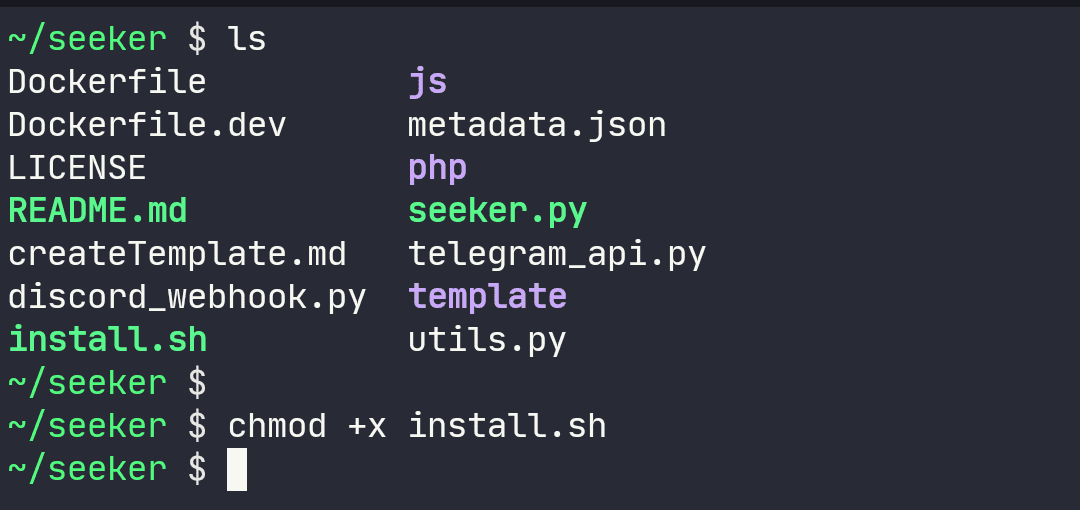
Step 5 - Install
Now we are ready to install all required dependencies for seeker and the install script will automate that for us.
./install.shAs you can see, for each dependency the script will show the status, do not panic if it looks stuck, the script is installing the packages in background.
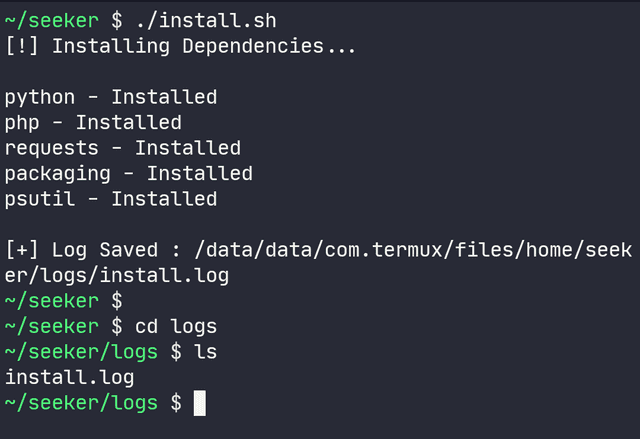
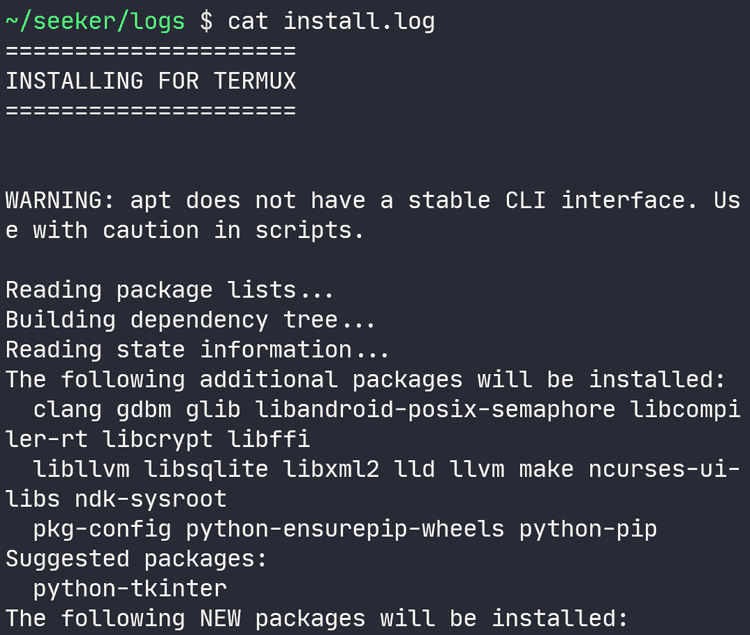
But lets say you get an error in any of the packages, check out the last line, an install.log file has been created! We can simply read the logs and look for any errors. After looking for the error on google/chatgpt/<insert your favorite LLM>, try to fix the error and then repeat step 5 again, i.e. run the install script again, if the errors were fixed you will see Installed for each dependency.
This is very important because without all dependencies seeker will not run properly. Below you can see what my install.log file looks like :
Step 6 - Launch
The best part, now we can simply run seeker using the python command :
python seeker.py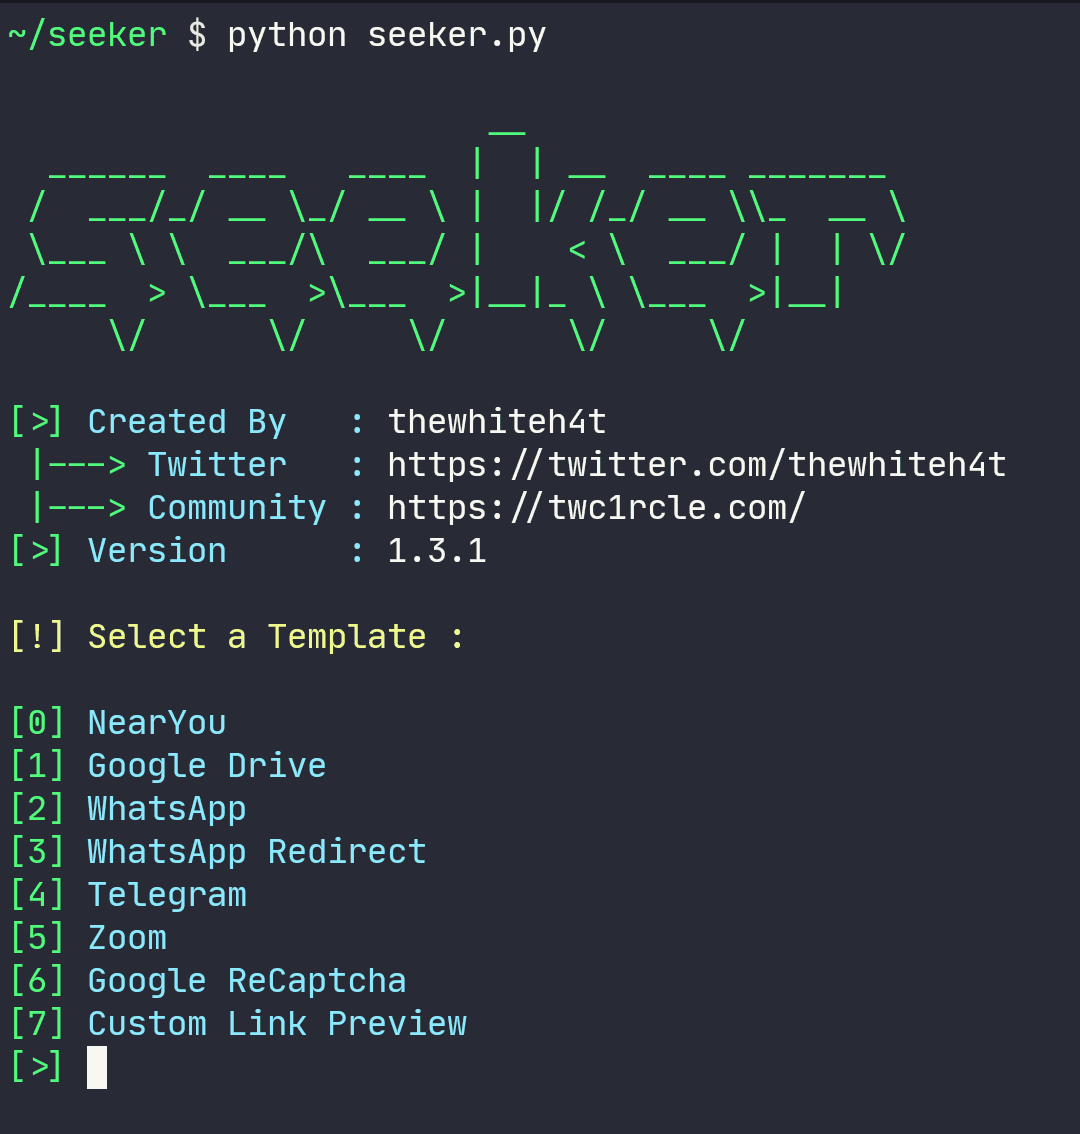
If you have multiple versions of python installed then make sure to use python3 since seeker supports python3 and above.
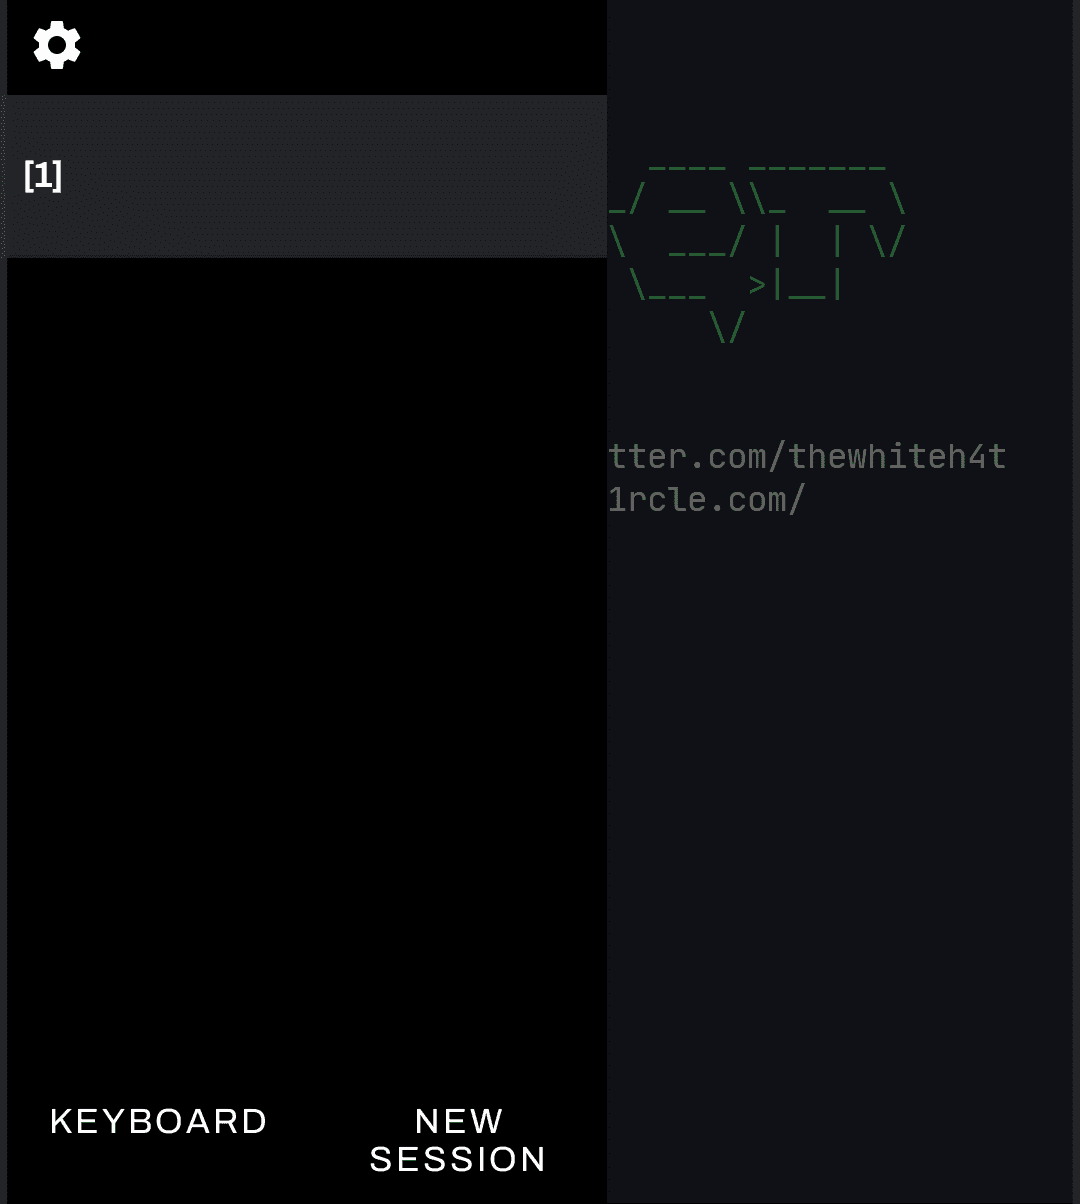
Step 7 - Secure Tunnels
Seeker requires HTTPS . This is compulsory because geolocation features can only accessed in a secure context. There are no bypasses for this. Now you have different options for this step depending on what you choose. For example you can host seeker on a VPS with nginx reverse proxy and a SSL certificate.
But since we are using the tool on termux, easiest option is a secure tunneling application like ngrok. You can find lots of tutorials and videos on how to download and use ngrok on termux so I won't be covering that in this post. There are many other alternatives available as well, check out Awesome Tunneling on GitHub .
You will need a second termux session or in simple words a second terminal window where you can launch a secure tunnel. You need to swipe from the left edge to open the sessions panel as shown :
Usually these secure tunnels provide a secure HTTPS URL, make sure to forward the correct port! By default seeker uses port 8080 but you can easily change this using -p or --port option as shown below :
python seeker.py --port 9000and forward the same port in your tunnel, for example if you are using ngrok you can use the following command :
ngrok http 9000
Thanks for reading and following along!


